
Learn about the updates and improvements to the Rhino 8 UV Editor in this texture mapping and material video.
What else is new in Rhino 8? Check it out!

Learn how to navigate the Rhino 8 interface in these short videos for Windows and Mac.
What else is new in Rhino 8? Check it out!

In this Rhino 8 video tutorial, you'll learn how to use the Gumball manipulator in Rhino 8 to model a coffee table design, starting with only a few curves.
What else is new in Rhino 8? Check it out!

This Rhino 8 video tutorial teaches how to 'reverse engineer' a low poly 3D scan into a smooth closed solid.
What else is new in Rhino 8? Check it out!

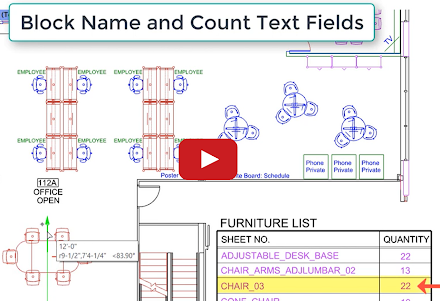
Check out Block Attributes in this one-minute video...
Discover what else is new in Rhino 7.


Clash is a Grasshopper component that searches a large number of objects and finds the intersection points of objects that touch each other. Clash lets you quickly detect and eliminate collisions in complex models, particularly useful in architecture, engineering, and construction.
Discover what else is new in Rhino 7.


Have you tried the RibbonOffset feature in Rhino 7?


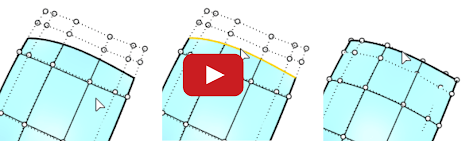
EdgeContinuity displays a graphic (quills) and a numeric indication of the difference in position, tangency, or curvature continuity across pairs of surface edges.
See how to use EdgeContinuity.
Check out this new rendering feature in this 1-minute video.
The Bloom post-effect feathers the bright areas in an image to simulate lights in a dark scene. See more about how to use Bloom.
You can also explore other Rhino 7 enhancements for Windows and Mac.

Join Rhino instructor Mary Ann Fugier in this previously recorded getting started webinar for both Rhino 7 for Mac and Rhino 7 for Windows.
Learn to create a simple architectural guest house model using exact coordinates. You'll also learn to view the model in various display modes, assign materials for rendering, and configure a layout for printing complete with dimensions and annotations.


Learn how to model a trellis ring using SubD geometry in Rhino 7. Download the associated files for this tutorial. We have more SubD tutorials in Rhino 7 on our Learning to use Rhino page.

